A 22-Point Maintenance Checklist For Volumetric Concrete Mixers
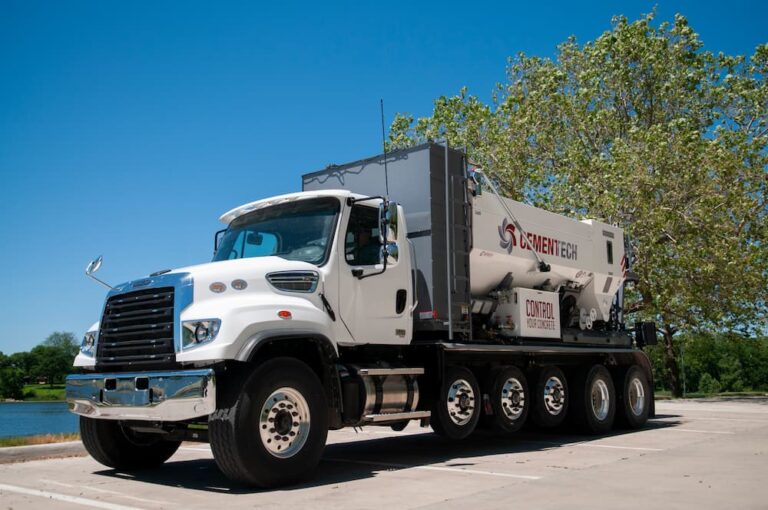
Winter is over and it’s time to start thinking about a spring check-up for volumetric mixer maintenance. But, preparing for the season is easy with Cemen Tech’s 22-point tune-up checklist.
1. Hydraulic Return Filter
Change the hydraulic return filter.
2. Hydraulic Fluid Level
Check the hydraulic fluid level and cleanliness. The oil should look clean and not cloudy. If there’s any question, change the oil. We recommend using ISO # 32 hydraulic oil.
3. Roller Chains
Lubricate all roller chains. If the chain or sprockets are showing significant wear, replace them.
4. Conveyor Chain & Belt
Inspect the conveyor chain and belt. Look for high wear points and the belt lacer. Replace these components if the rubber has holes or the lacer shows wear.
5. Conveyor Drive
Inspect the conveyor drive and driven sprockets for wear to the teeth. If the tooth has a sharp and pointed tip, it’s time to replace.
6. Top Chain Rails
If possible, inspect the top chain rails that the conveyor chain and belt ride on. The chain may need to be lifted to see the rail. The rail wears mostly on the front half where most of the weight distributes. The rail needs to be a minimum of 5/8” thick and a new rail starts at 3⁄4” x ¾” square.
7. Side Guide Material
Adjust the side guide material down to a minimum gap of 1/16”. Use a flat washer as a gauge for the gap.
8. Belt Wiper
Adjust the belt wiper at the rear of the conveyor belt. It should be tight against the belting.
9. Sand & Stone Gate
Check the sand and stone gate for proper adjustment. With the gate closed to the belt, the scale should read “12.”
10. Conveyor Chain Lubricator
Check the conveyor chain lubricator for proper adjustment. Fill the reservoir with 10 weight oil. Does the oil drip at the correct rate and is it dripping on the chain? It should be dropping a drip every two to three seconds.
11. Mixer Assembly
Inspect the mixer assembly. Check the wear blades for wear and broken blades and replace as needed. Most wear is usually found in the first half of the mix auger.
12. Lower & Upper Bearing
Check both the lower and upper bearing. Are the bearings solid and are they greased? You may need to pull the dust cap off the Max Life bearing and inspect the internal bearings. Do they need to be repacked with grease?
13. Auger Hub
Inspect the auger hub located on the lower end of the auger. This hub should be recessed into a ring on the hopper wear plate. If there is a 1/8” or greater gap between the hub and the ring, replace the hub. This hub is the first line of protection of the seal system for the Max Life bearing.
14. Cement Bin & Discharge Auger
Check the cement bin and discharge auger for cement. Is it clean from cement build up and is the inside of the bin clean of any hard cement? Check all bearings for the augers. These bearings won’t have a grease zerk but inspect the seals to make sure they’re good and replace as needed.
15. Vibrators
Check all the vibrators for proper operation, which directly affects adequate material flow.
16. Air System Lubricator
Fill the air system lubricator with 10 weight oil. Run vibrators to make sure the lubricator is working and that oil is dripping at the proper rate of one drop per cycle of vibration on the vibrator.
17. Water Tank & Water System
Check out the water tank and system for proper operation. Cleaning the tank is required as any algae growth will cause a blockage to the suction side of the water pump. Check the water pump function — it should build 80 psi to 100 psi of pressure. If it does, the pump is in good working condition. As the pump runs, check for leaks around it. If leaks are present, the pump seal should be replaced.
18. Water Pump Operation
With the water pump running, check the 421 valve for proper operation. This is the air valve that turns the water “on” and “off” when mixing concrete. It‘s also controlled by a toggle switch for On/Off/Auto function. Test all three positions for proper operation.
19. Admix Tanks & Admix System
Flush out the admix tanks and system and check the system for appropriate operation. Does the pump run, provide the proper flow rate, and does the air valve turn on and off correctly?
20. Recalibrate With Materials
Recalibration should be done with the materials you plan on using. This is important for the unit to produce the proper mix. At a minimum, the unit should be calibrated once a year but our recommendation is to follow a quarterly schedule.
21. Cylinder Testing
After calibration, have a test lab run cylinder test to determine if the concrete design is breaking at the proper strength.
22. Truck Service
Service the truck, check it out, and re-certify the DOT inspection if needed.
Preventive maintenance goes a long way to a trouble-free season for your business. Need to order parts? We’ve got that covered! Call (800) 247-2464 ext. 302 or fill out our contact us form.